Create a Project
Once in your workspace, you can add a new project by following these simple steps:
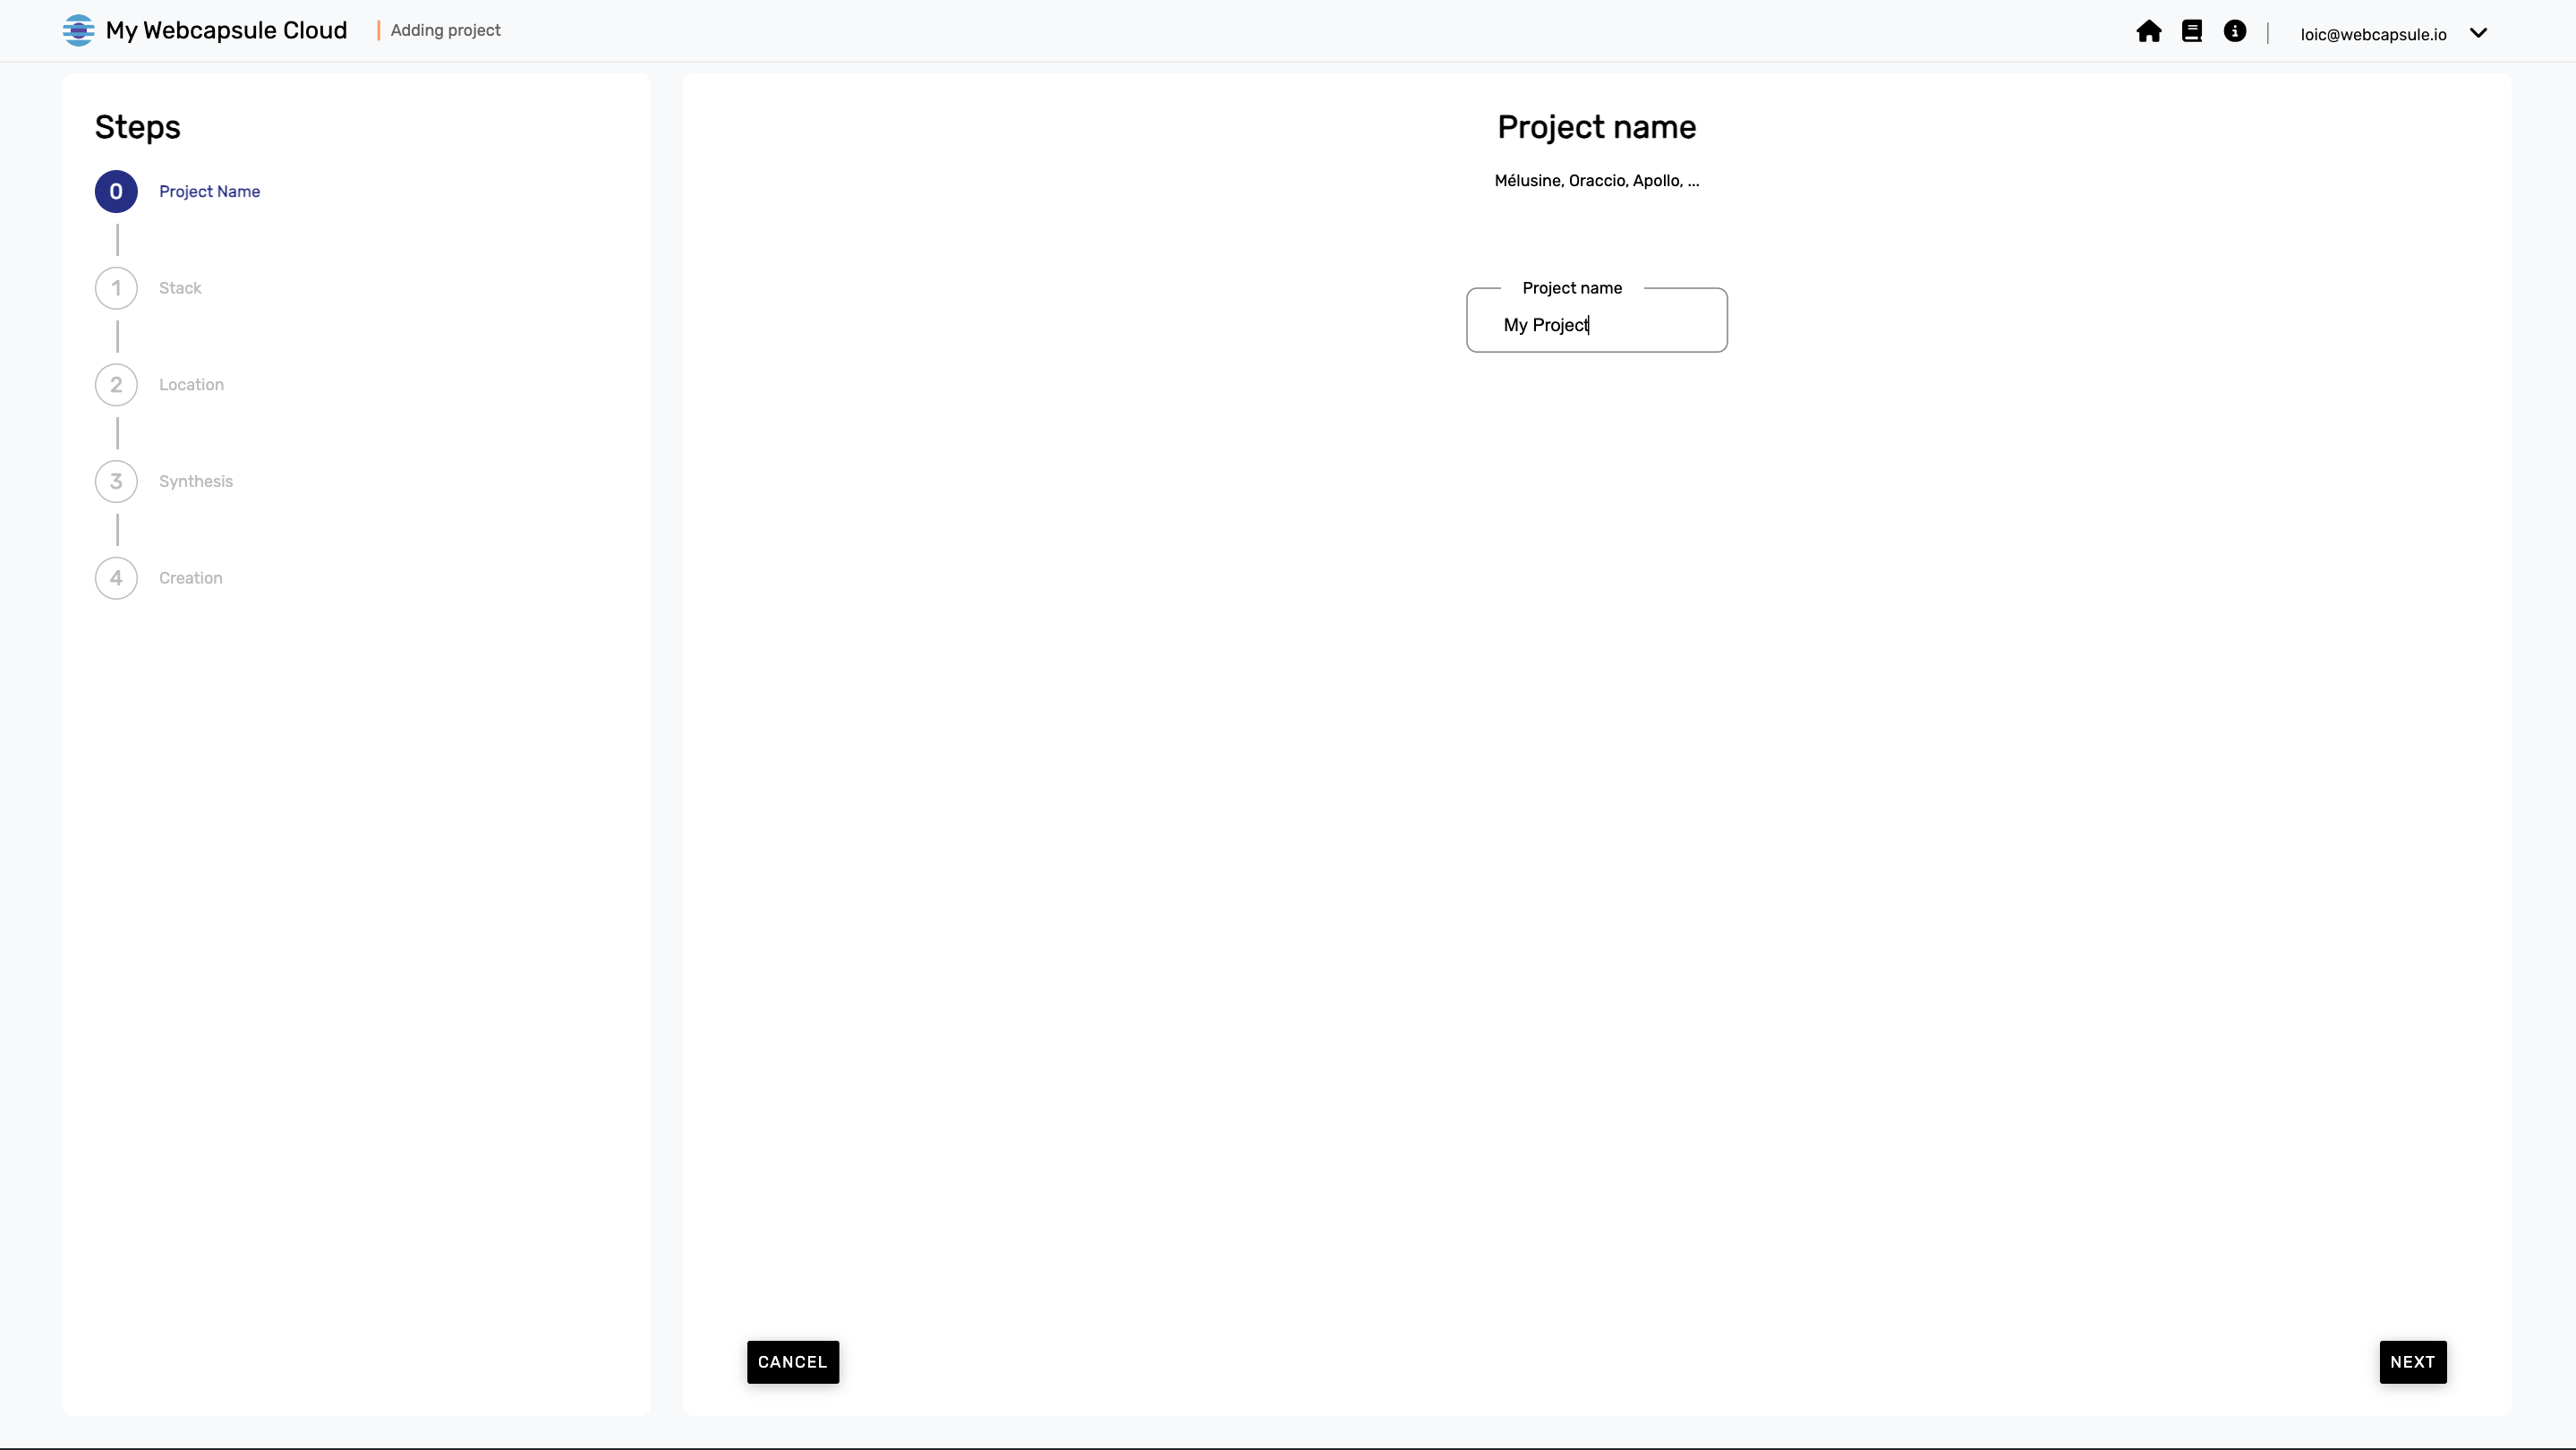
New Project
Click the "New Project" button to start the process.

Enter the name of your project in the designated field, just like a captain names their ship.
Choose the Stack
Select the stack you want to deploy. For this example, we'll choose "Basic Internal Tools." It's like choosing the type of fuel for your rocket.
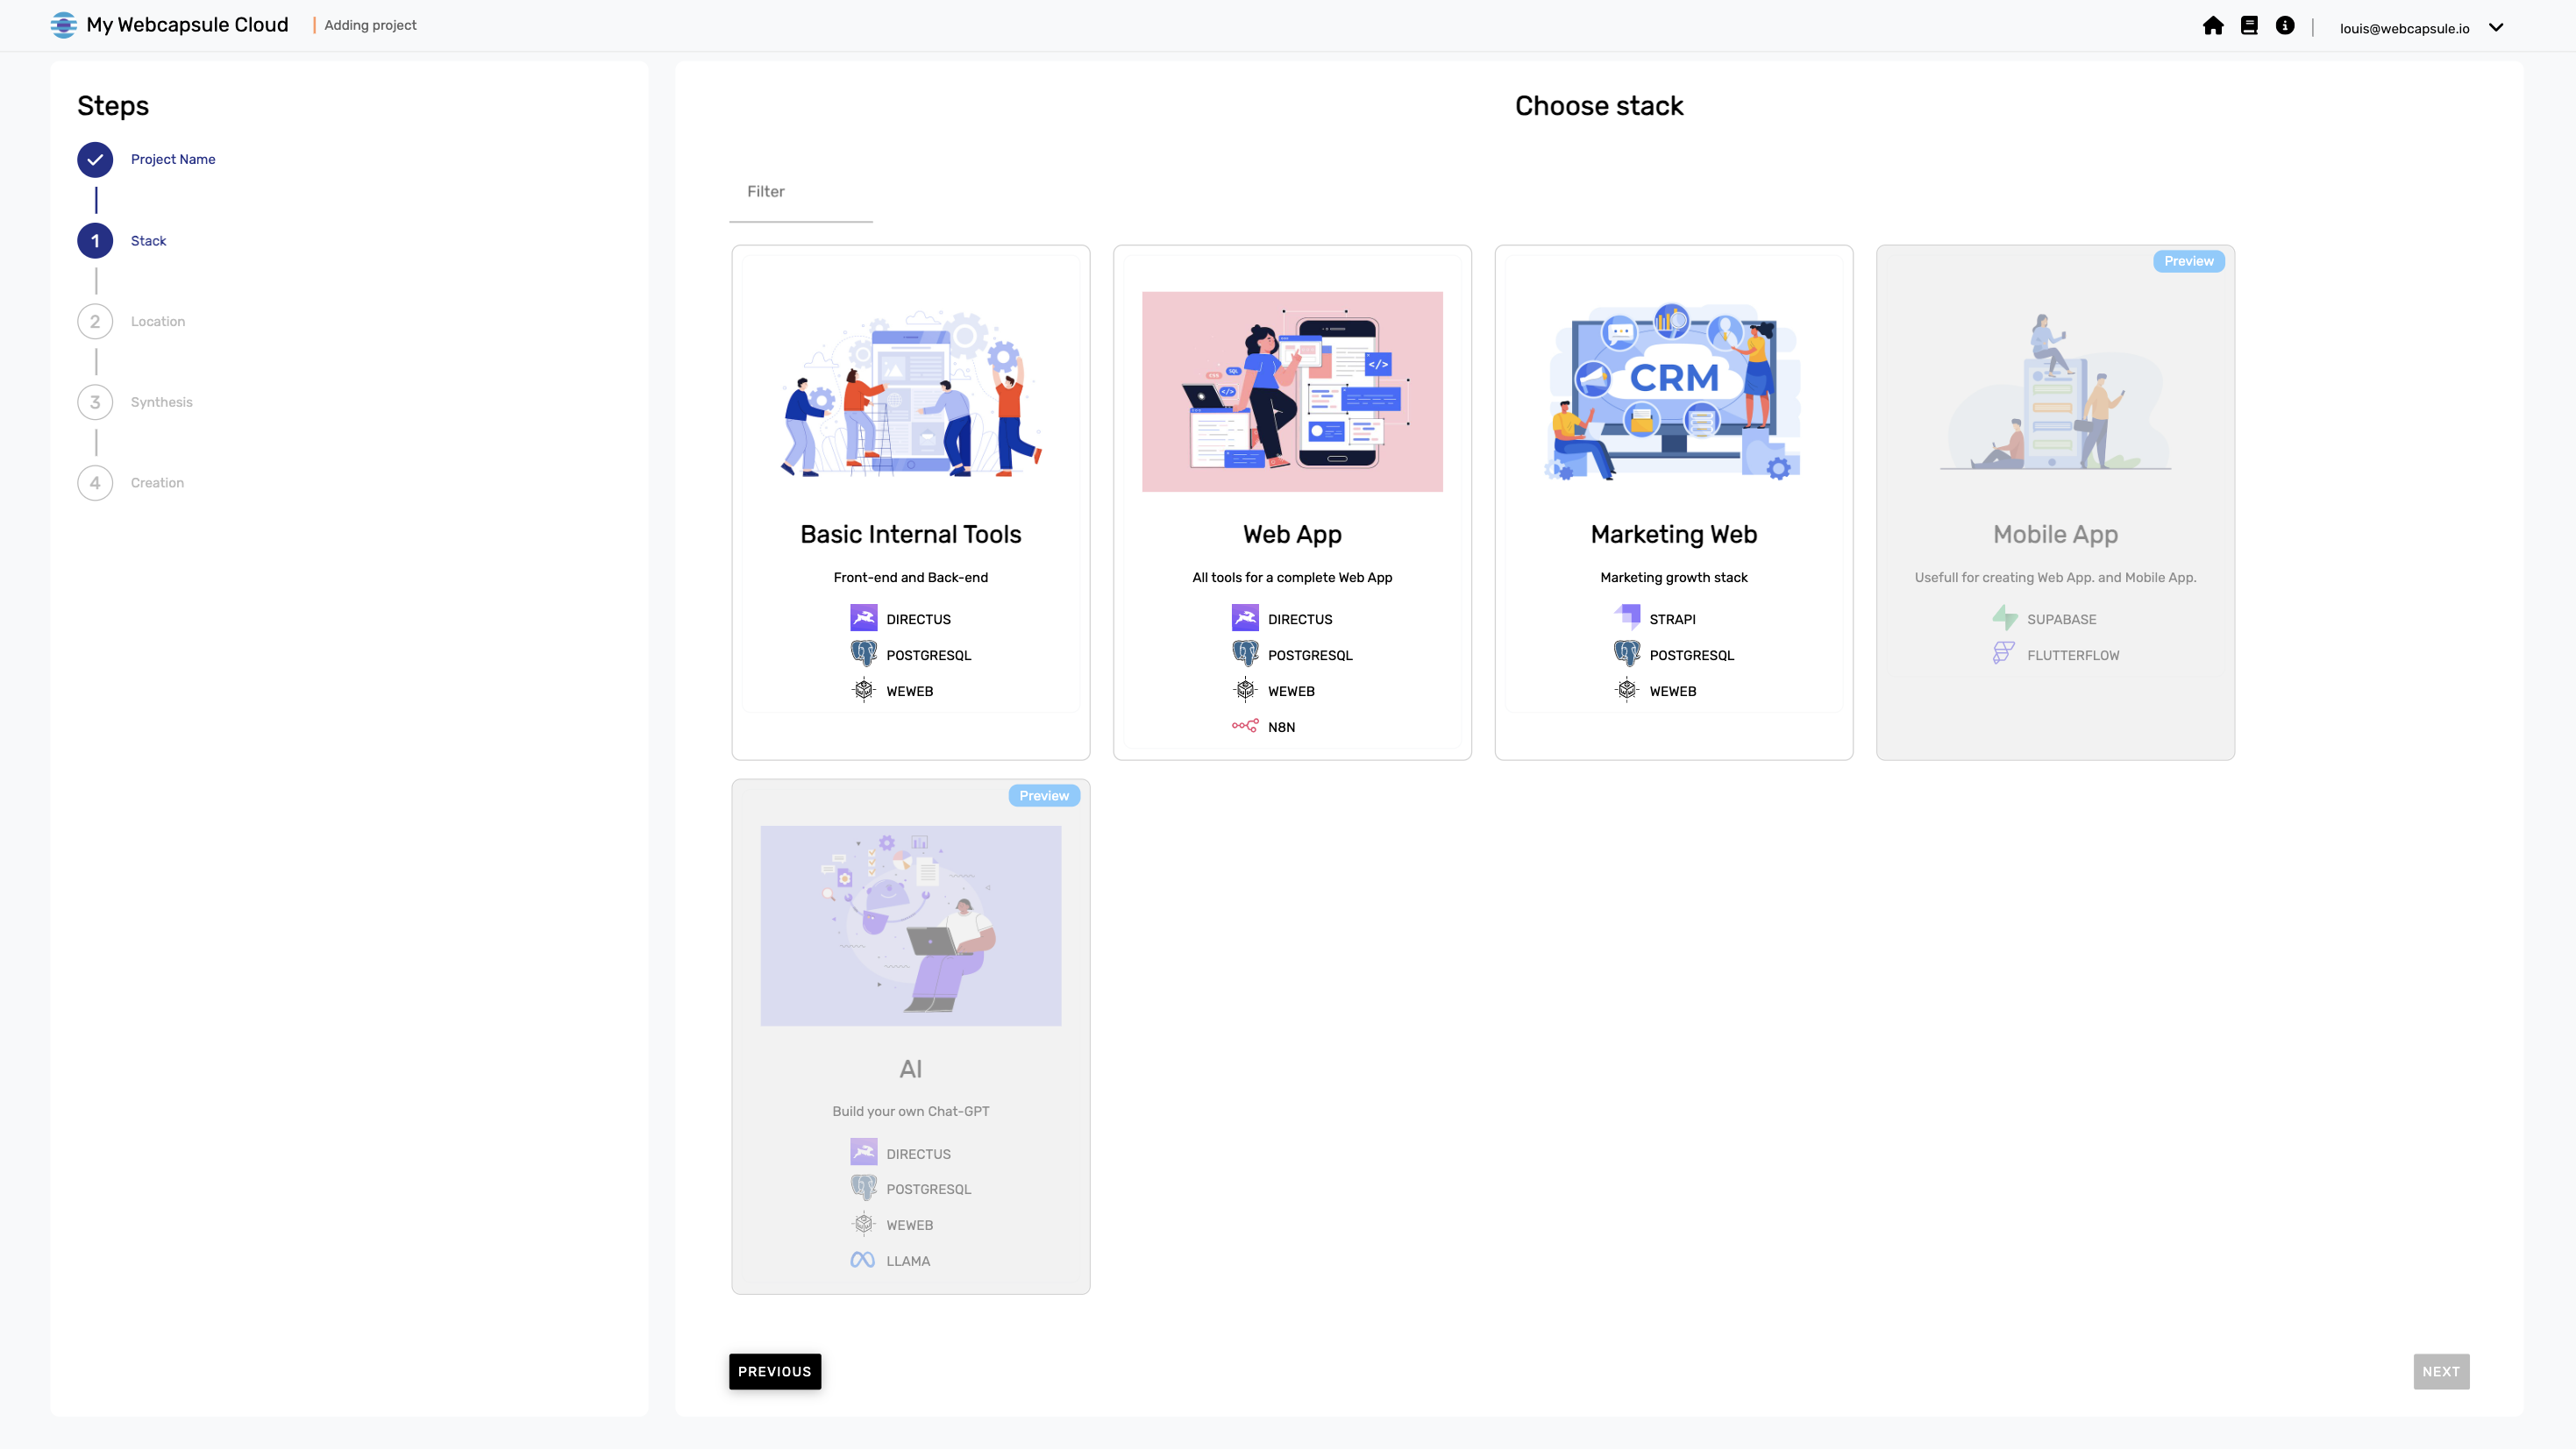
If you want to explore other stack options and understand their specifics, you can go to the "Technologies" section.
Select an Account and Location
Select the account in which you want to deploy the webcapsule project.
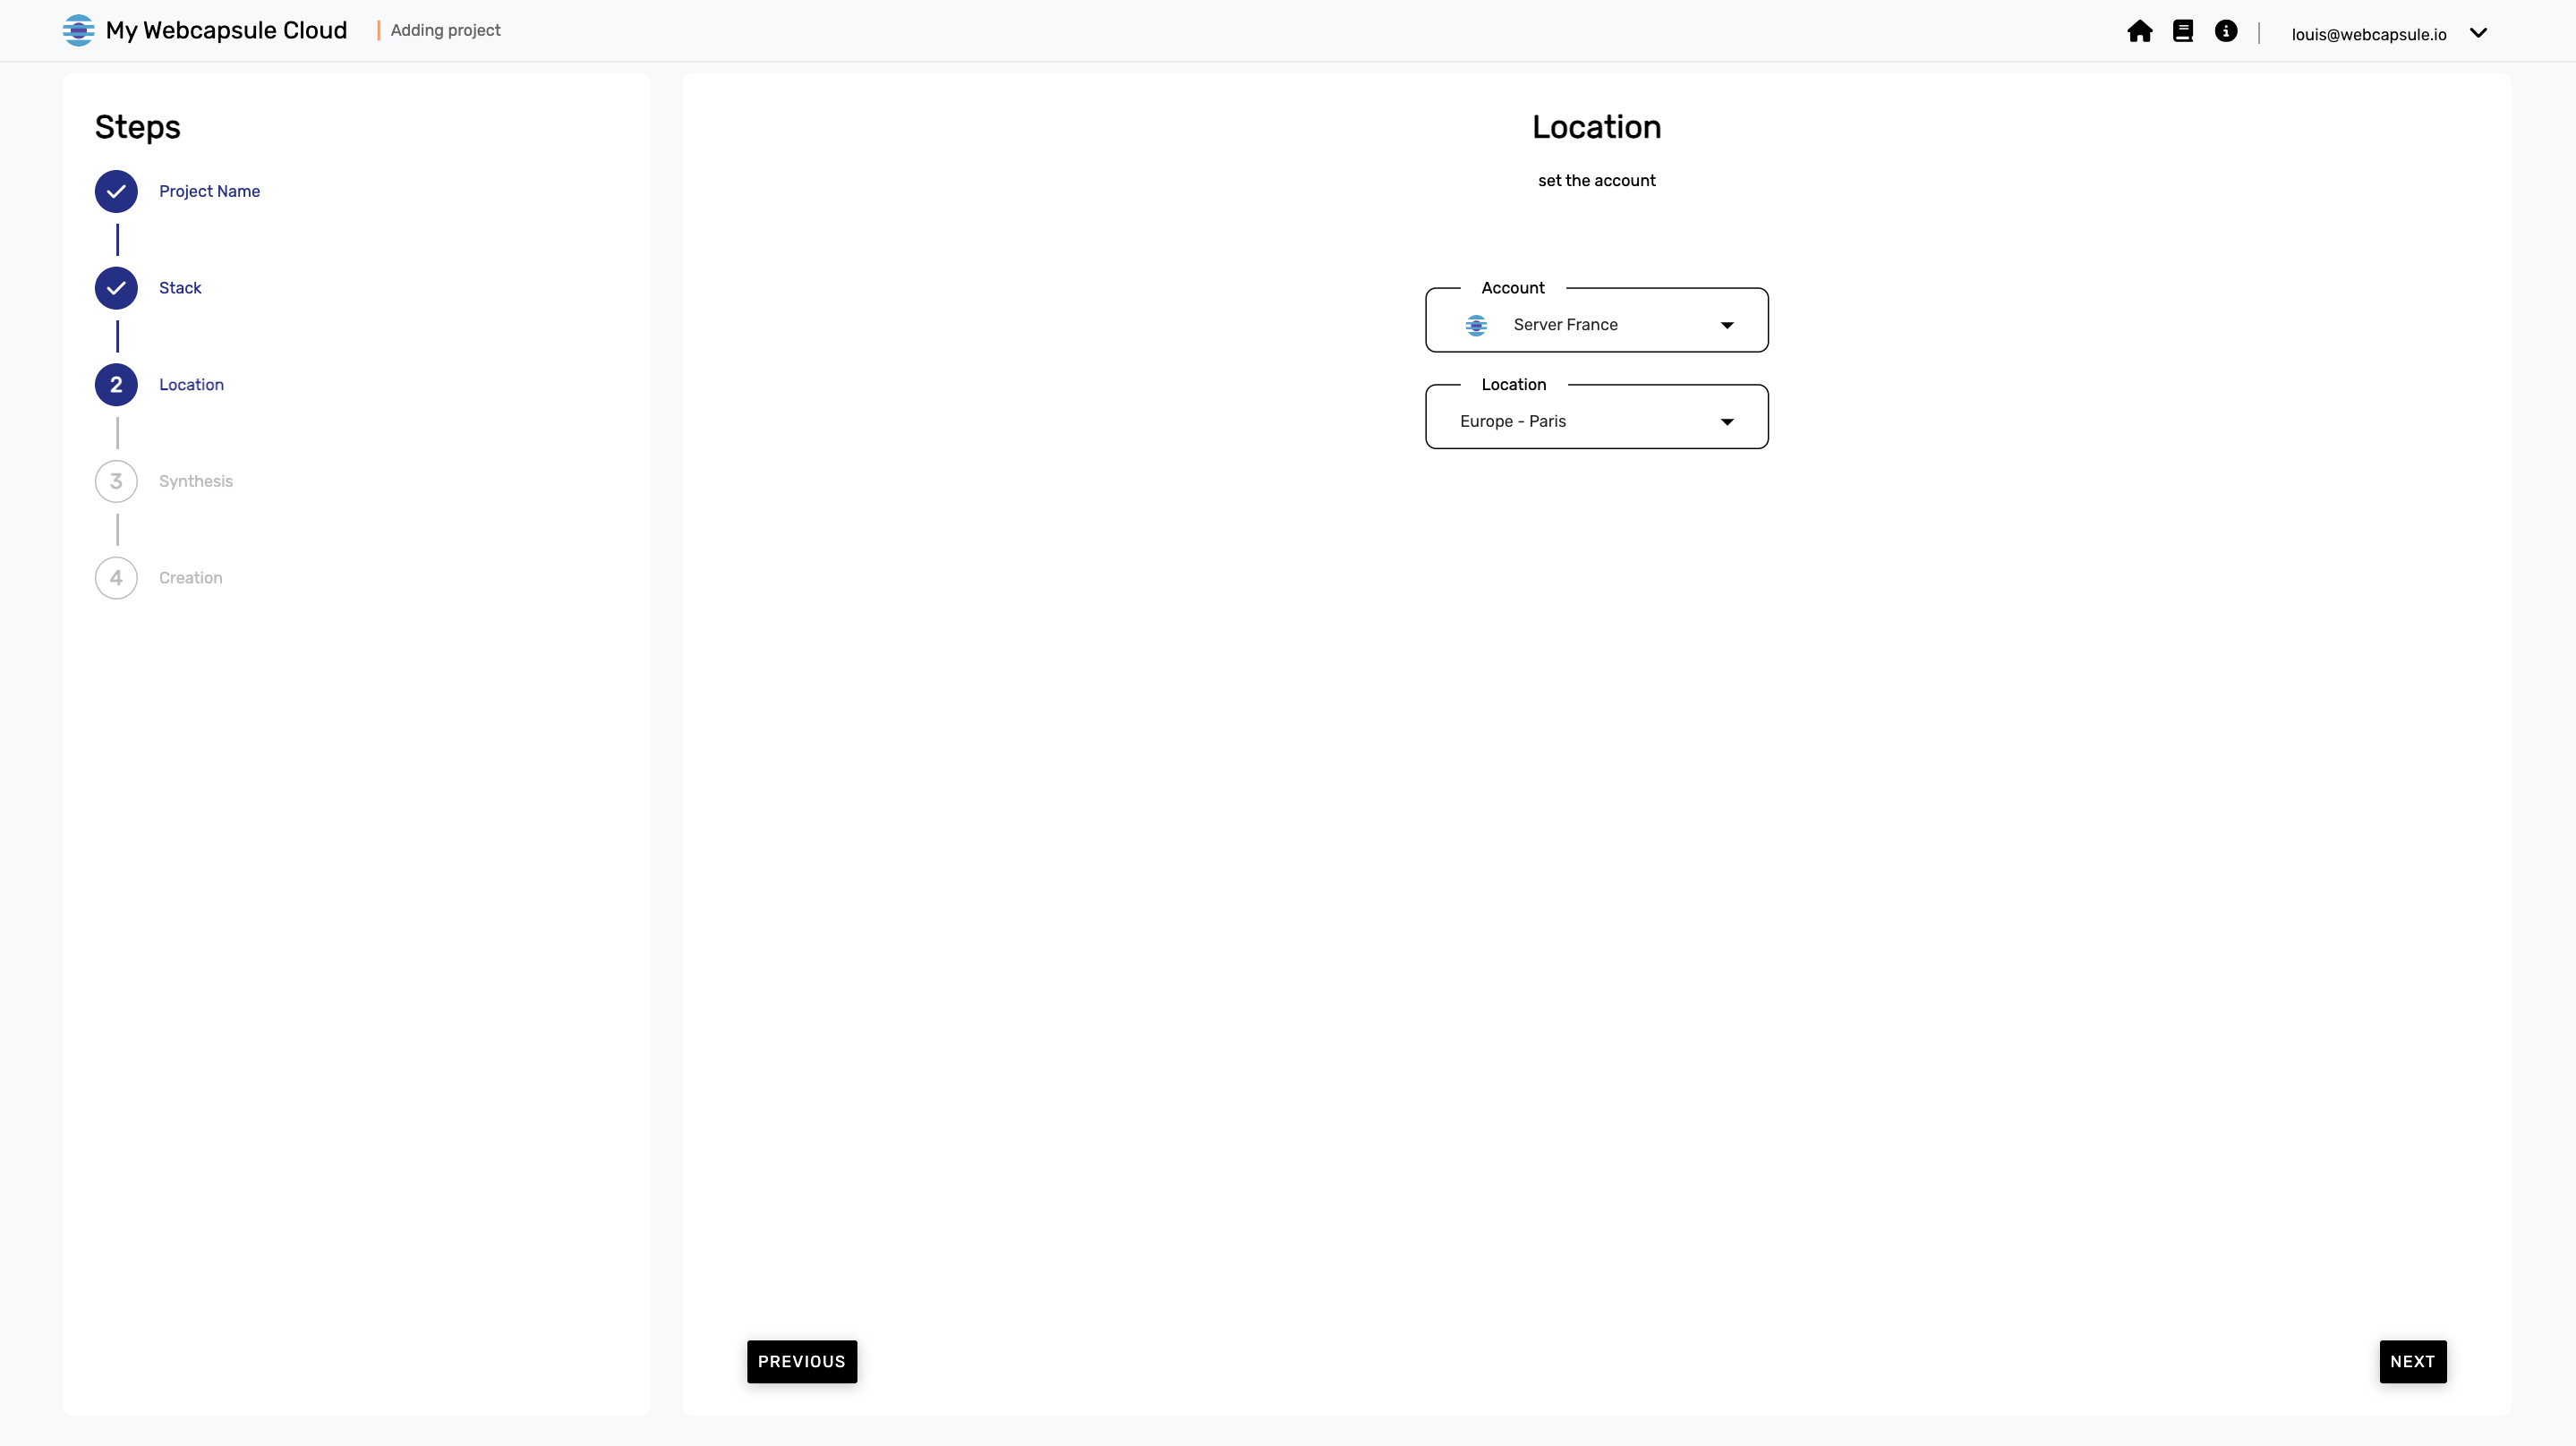
You have the option to add a new account in the appropriate section. By default, it will be the main account.
Choose the location (region) where you want to deploy your project. For now, only the "Europe - Paris" region is available.
Final Check
Check that all the information is correct before launching the project creation:
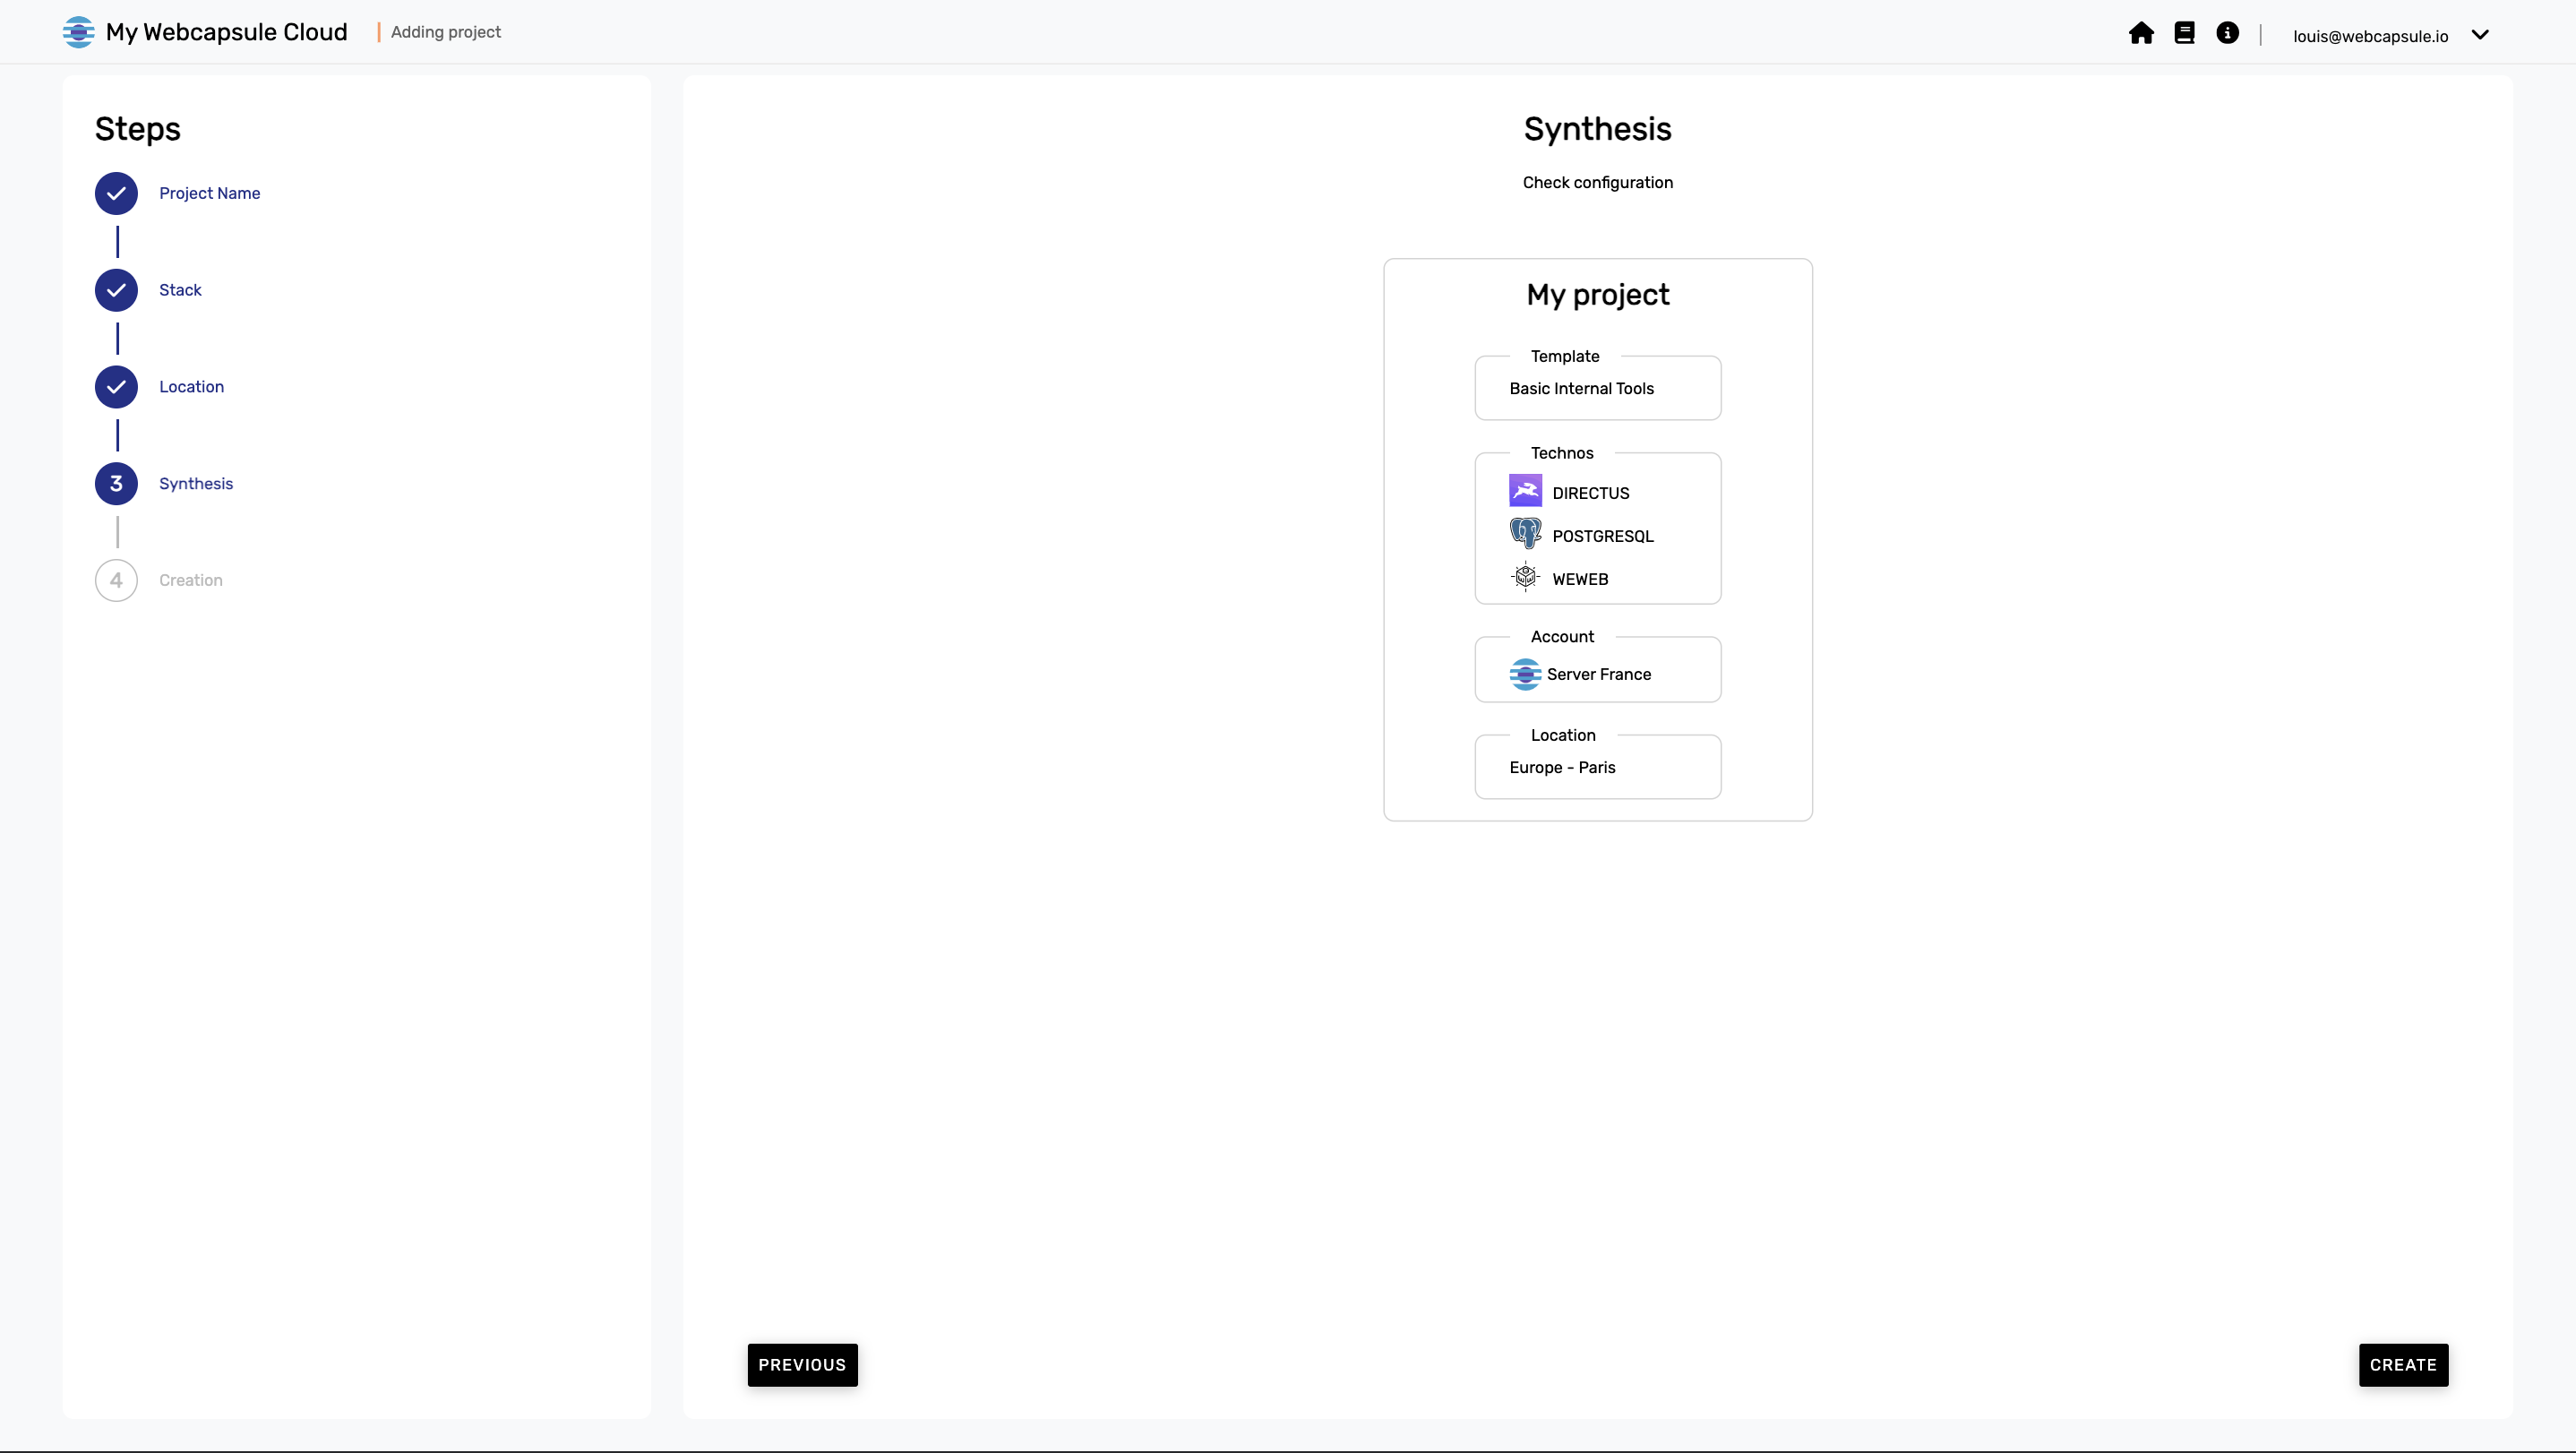
If everything is in order, you can then launch the project creation.
Liftoff in Progress
Wait for the deployment process to complete. You will be redirected to your workspace and can track the project's creation. You will be notified when the entire infrastructure is in place.

The process varies depending on the stacks but remains very fast. In our example (Directus Stack + Postgres DB + Weweb Front), it can take between 20 to 40 minutes.
Once the project is created, you can proceed to add your first front, the first stop on your space mission. 🚀🌌✨