Add a Back-End
Before continuing your technological mission, learn how to add a new version for your Back-End with Directus.io. In this example, Directus is your management hub for all things data-related. Follow these steps to efficiently manage your infrastructure.
Accessing Your Directus
- Access the Directus interface via the WebCapsule sidebar. Choose the environment to modify.
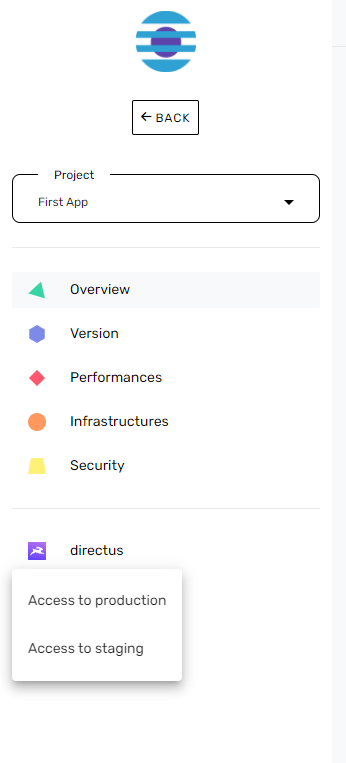
- Directus login is managed through Single Sign-On by WebCapsule's Keycloak.
- Once logged in, you can start managing your users and building your data sources.
Save a New Version
Step 1: Return to the WebCapsule Space
- When you are satisfied with the changes made, return to the WebCapsule project management space.
Step 2: Choose the Environment and Service to Deploy
- Select the deployment environment (staging or production).
WebCapsule currently manages two environments: "staging" and "production."
Choose the "Directus" tab for the Back-End
Step 3: Save a Back-End Version
You can then save a new version by clicking the "Save a new version" button.
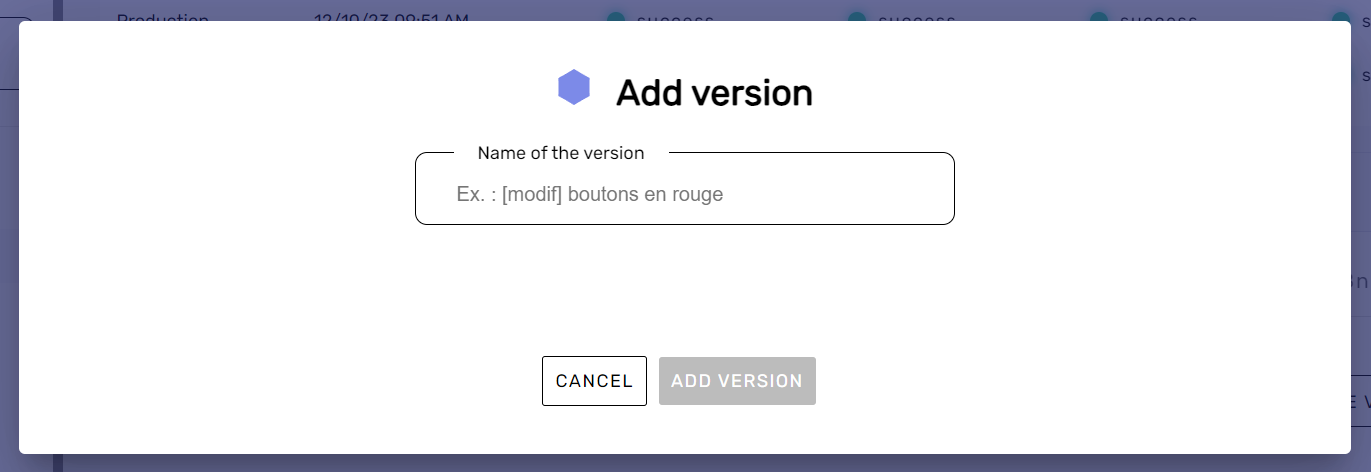
Step 4: Name the Version
Enter a name for the version, preferably a descriptive name to easily identify its content.
There are conventions in naming versions (commits) to facilitate communication with team members and project tracking.
Step 5: Add the Version
You can then add the version. Once you are done, WebCapsule will take care of deploying the new version, which should appear in the list of versions.

The version is automatically deployed.
Congratulations, you have configured your front-ends and back-ends. Now all that's left is to switch to production mode to make your WebApp accessible to a wider audience! 🚀