Once your project creation is complete, you will notice that the project is marked as "Waiting for first Deployment." At this point, it's time to add your first commit.
Add your first Front-End commit
When creating your project, it's essential to include a front-end.
You have two options to set it up: either by adding your code directly or by using a builder like Weweb which allows you to export code.
In this example, we will use Weweb.
Export your project from Weweb
To export the project of your choice, follow these steps:
- Go to the website, ensuring you have the required subscription for code export.
- Proceed to export the project of your choice from Weweb.
Import the project into Webcapsule
Once the file is exported, you have the option to re-import it into La Webcapsule. This operation will allow you, in the first instance, to create a version of the file and then deploy it later.
All of this takes place in the "Versions" tab; follow these steps:
Step 1: Choose the environment and service to deploy
- Select the deployment environment (staging or production).
La Webcapsule currently manages two environments: "staging" and "production."
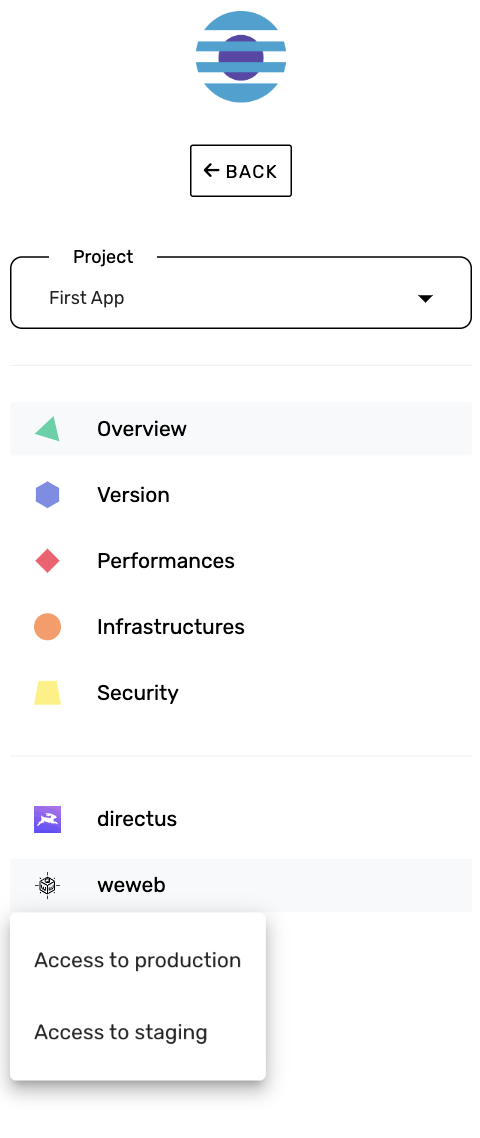
Choose the "Weweb" tab for the Front-End
Step 2: Add a version of your Front-End
You can then add a new version by clicking the "Add a new version" button.

Step 3: Name the version
Enter a name for the version, preferably a descriptive name to easily identify its content.

There are conventions in version (commit) naming to facilitate communication with team members and project tracking.
Step 4: Add the code
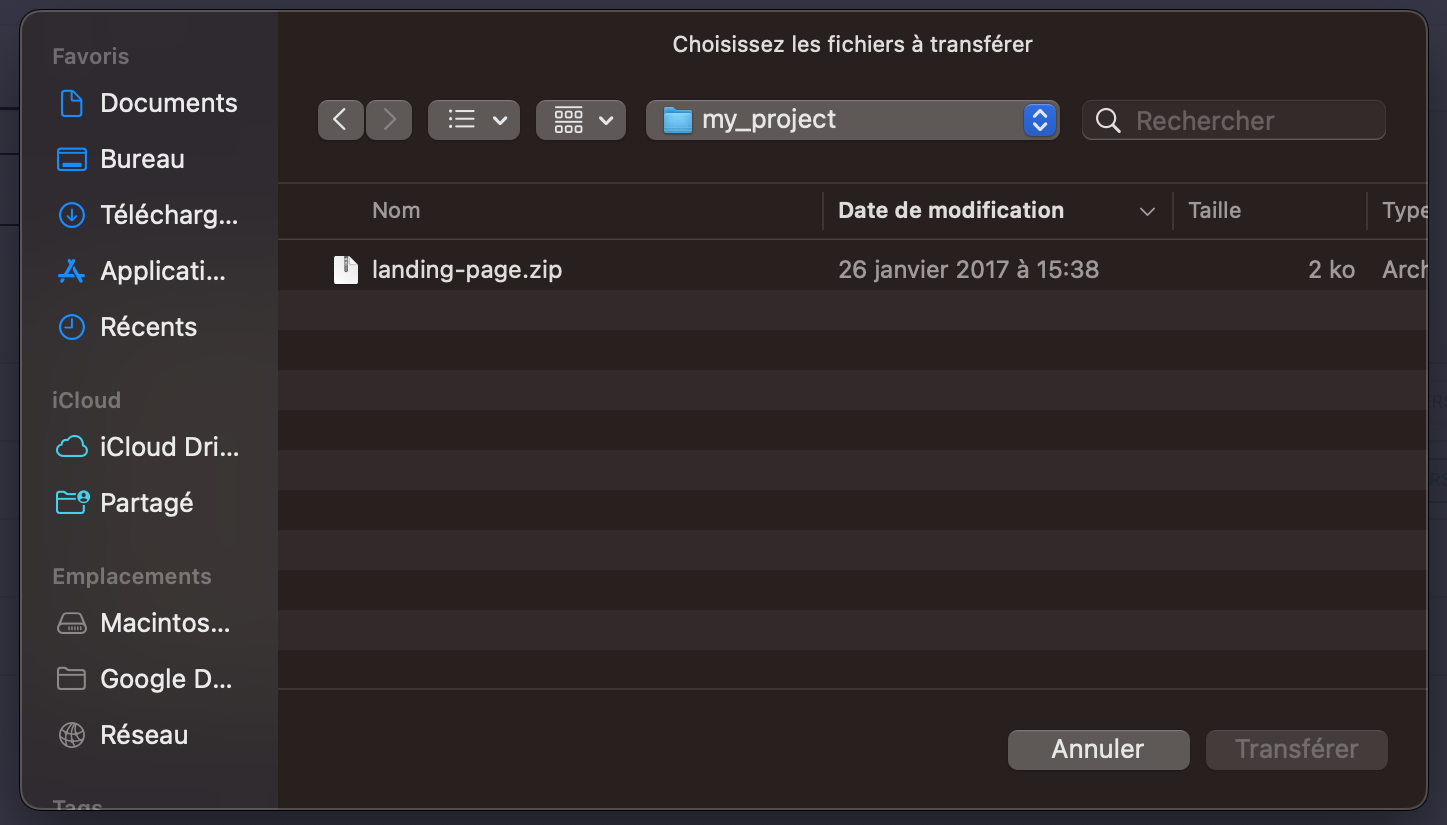
Add the application's source code in ZIP format.

Ensure that the ZIP file contains the site's files at the root, not in a subfolder.
Add the version
You can then add the version. Once you've finished, La Webcapsule will take care of deploying the new version, which should appear in the list of versions.

The version is automatically deployed
Step 6: Verify the site's functionality
On the left navigation bar, you will find direct access to the site.

Once the verification is complete, you can proceed with setting up your Back-End! In our example, it will be Directus. 🚀🌐📦✨